Making a tarpaulin canopy is a handy and inexpensive means of offering shelter in your back yard, camp site, or any outside location. If you require shade from the sun, refuge from rain, or just a simple outdoor cover for parties or storage, a Tarpaulin canopy can be constructed easily with little tools and labor. Having a tarpaulin sheet, particularly a heavy duty tarpaulin, guarantees your structure remains long-lasting and weather-resistant. In this tutorial, we’ll guide you through creating a tarpaulin canopy in five simple steps.
What You’ll Need
Before you start, ensure you have the following materials:
- 1 or more tarpaulins (depending on your canopy size)
- Rope or bungee cords
- Tent poles, PVC pipes, or wooden posts
- Tent stakes or ground anchors
- Hammer or mallet (for fixing stakes)
- Scissors or a utility knife
- Zip ties (optional for extra security)
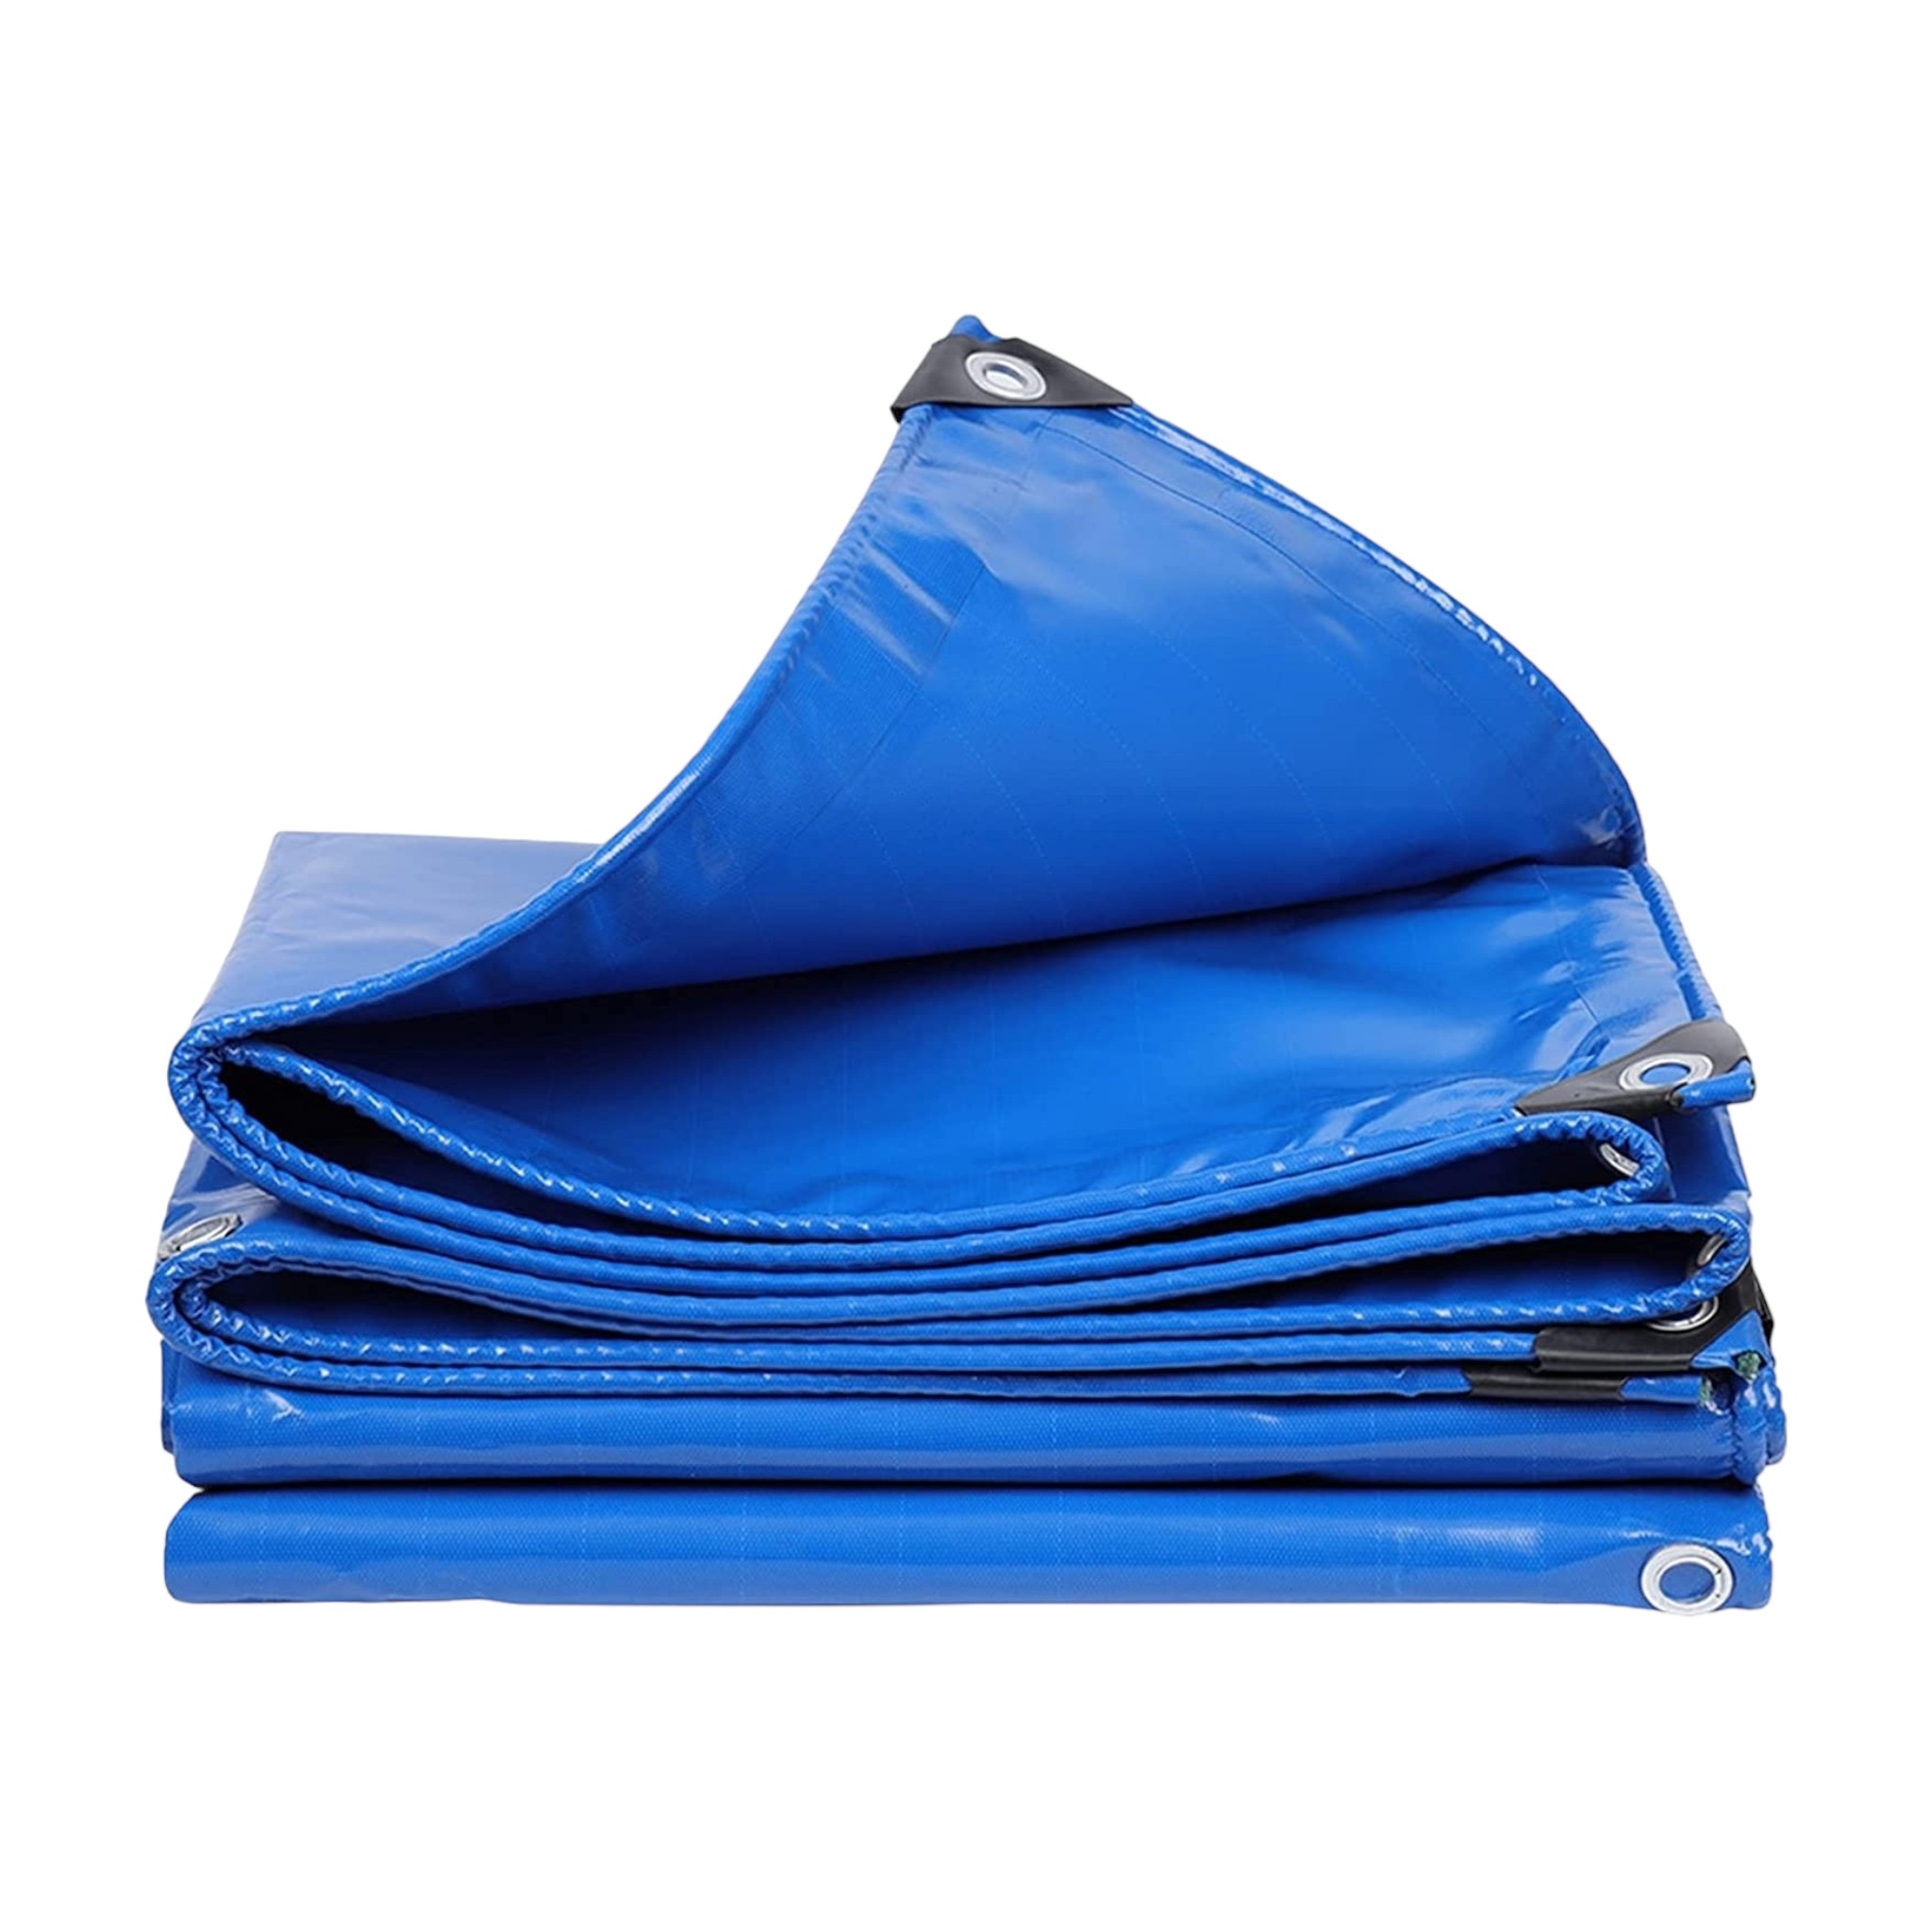
For heavy use or use in windy and rainy conditions, a heavy duty tarpaulin is suggested. It is more tear and water-resistant as well as UV-blocking, so it can be used for outdoor canopies.
Step 1: Choose and Measure Your Location
The initial step in the construction of a tarpaulin canopy is to determine the best location. Select an area that is level, open, and clear of debris or sharp objects that might tear the tarpaulin sheet. Look for areas close to trees, fences, or buildings that can be used as natural anchor points.
Measure the space to be covered so that you have an idea of the tarpaulin size. Standard canopy sizes vary from 10×10 feet for small parties to 20×30 feet for big parties. It makes it easier for you to buy the correct size and think through how many poles and ropes you will require.
Step 2: Prepare and Collect Your Materials
Once your site is prepared, collect all the materials. Open up your tarpaulin sheet and place it on the ground to check it for holes or broken eyelets. If you are working with a heavy duty tarpaulin, it will probably be reinforced along the edges and corners for added strength.
Set up your poles or supports. If you’re using PVC pipes, cut them to the desired height (typically 6-8 feet). For wooden posts or metal poles, make sure they are strong enough to hold the tarpaulin taut. Place these at the corners of your measured area.
Step 3: Attach the Tarpaulin to the Supports
Start by tying each corner of the Heavy Duty Tarpaulin to the top of the poles with ropes, bungee cords, or zip ties. Built-in eyelets or grommets come with most tarpaulins thread your ropes through them and tie them securely to the poles. If you have center poles or extra supports, hook them onto the sides or middle of the tarpaulin sheet for improved shape and balance.
To secure the canopy, pull the tarpaulin tight enough to keep it from sagging, but not so hard that it could tear. A heavy duty tarpaulin will be more tolerant of tension and stress at the anchor points.
Step 4: Secure the Canopy to the Ground
After attaching the tarpaulin to the poles, it’s time to anchor the structure. Use guy ropes to tie down each corner and side of the tarpaulin, then secure them to the ground using tent stakes or ground anchors.
Drive the stakes firmly into the ground at an angle for optimal grip. Secure the ropes progressively to remove slack and offer stability to the canopy. This is a critical process, particularly in windy weather. The tighter you anchor your tarpaulin, the longer your canopy will survive.
Step 5: Reinforce and Secure
After getting your tarpaulin canopy set up and anchored, check the structure from every possible angle. For any sagging spots or loose fitting, tighten the ropes and move the poles around if necessary.
If you are anticipating a heavy downpour, make the canopy side slightly lower than the opposite side. This creates an angle that water can flow off instead of collecting on the tarpaulin sheet and leading to sagging or tearing. Additionally, you may include additional support poles or center ropes to avoid water pooling.
For long-term use, inspect regularly for wear and tear, particularly in the area of the eyelets and rope fittings. A heavy duty tarpaulin will last well, but it’s better to anticipate work.
Why Use a Tarpaulin Canopy?
There are a number of advantages to constructing a canopy with tarpaulins:
- Affordability: Far less expensive than permanent buildings or commercial canopies.
- Versatility: Suitable for camping, storage, outdoor functions, or temporary shelter.
- Portability: Simple to dismantle and transport.
- Durability: You can have a heavy duty tarpaulin that can handle extreme weather and long exposure to the outdoors.
- Customizable: You can easily modify the size, form, and installation as per your requirement.
Conclusion
It is a practical method to create your own tarpaulin canopy for outdoor needs. By using these simple five steps selecting your location, preparing the materials, securing the tarpaulin sheet, anchoring it to the ground, and making the final touches you can have a good, strong, and weatherproof canopy in no time. From a backyard soiree to a vendor stall, to planning for a camping adventure, a tarpaulin canopy is an indispensable equipment to possess. Buy a good quality heavy duty tarpaulin so your canopy will survive the weather and provide you with reassurance for any event.
Also Read: https://thinklog.xyz/