Stucco is one of the most popular materials for creating a durable and attractive wall finish. Known for its strength, fire resistance, and timeless appearance, stucco can enhance both the look and the longevity of your property. Whether you are building a new home or upgrading an existing one, understanding the stucco installation process is essential. This guide will walk you through each step in simple language so you know what to expect and how to ensure quality results.
What is Stucco and Why Choose It?
Stucco is a plaster-like material made from cement, sand, water, and lime. Once applied, it creates a hard, textured surface that can last for decades with proper care. Homeowners often choose stucco because it is low maintenance, energy-efficient, and versatile in terms of colors and textures. It is suitable for both exterior and interior walls, making it a great option for many residential and commercial properties.
Benefits of Professional Stucco Installation
A properly installed stucco finish not only improves the look of your home but also protects it from weather damage. It helps regulate indoor temperatures, reduces noise, and resists fire. Professional exterior stucco installation also ensures that cracks, moisture issues, and uneven application are avoided. Getting the installation right from the start saves money on repairs later.
learn more
Preparing the Surface for Stucco
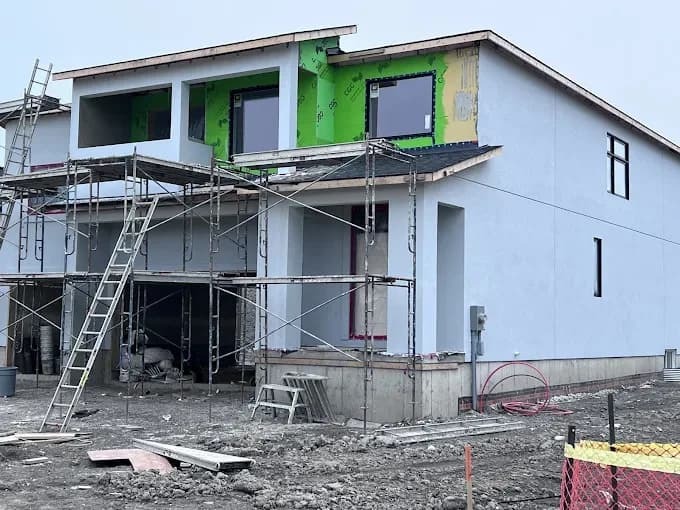
Before applying stucco, the surface must be prepared carefully. For wood-framed walls, a water-resistant barrier and metal lath are installed to provide a base for the stucco to adhere to. For masonry or concrete walls, cleaning and roughening the surface help create a strong bond. Good preparation is key to preventing cracks and ensuring the coating lasts for years.
Step-by-Step Process of Stucco Installation
Stucco is applied in multiple layers, each playing an important role in the overall strength and finish:
- Scratch Coat:
The first layer is a mixture of cement, sand, and water applied to the surface. It is then scratched with horizontal lines to create texture for the next layer to grip. - Brown Coat:
After the scratch coat has cured, the second layer is applied. This layer levels the surface and builds thickness. It is smoothed out and left to cure properly. - Finish Coat:
The final layer is applied in the desired texture and color. This is the visible layer that gives the wall its look. Homeowners can choose from smooth, sand, or dash finishes depending on their style preference.
Each coat requires proper curing time, usually 24-48 hours for the first two layers, to avoid shrinkage and cracking.
Many property owners who opt for residential stucco installation report improved home value and energy savings, as stucco acts as a natural insulator and can withstand harsh weather conditions.
Cost of Stucco Installation
The cost depends on several factors, including wall size, type of stucco, labor charges, and location. On average, stucco installation costs range between $6 to $10 per square foot. While DIY might seem cheaper, hiring professionals often saves time and prevents costly mistakes.
Common Mistakes to Avoid
- Skipping surface preparation
- Applying layers too thick or too thin
- Not allowing proper curing time
- Ignoring small cracks after installation
Avoiding these mistakes ensures your walls remain strong and beautiful for many years.
Maintenance Tips for Stucco
Stucco requires little upkeep, but occasional inspection is necessary. Look out for hairline cracks and seal them early to prevent water damage. Cleaning the surface with mild soap and water helps maintain its fresh look.
If you are considering a project soon, professional stucco installation services can ensure perfect results the first time. Many homeowners trust companies like Alston Stucco Repair because they use quality materials and skilled craftsmanship, making them a preferred choice in the market.
Explore more:
https://alstonstucco.us/stucco-installation-philadelphia/
Conclusion
Stucco is an excellent choice for anyone who wants a beautiful, durable, and low-maintenance wall finish. From preparation to the final coat, following the proper steps ensures that the results last for decades. Whether you choose DIY or hire a contractor, paying attention to quality at each stage is important. With the right approach, your walls will stay strong, weather-resistant, and attractive for years to come.