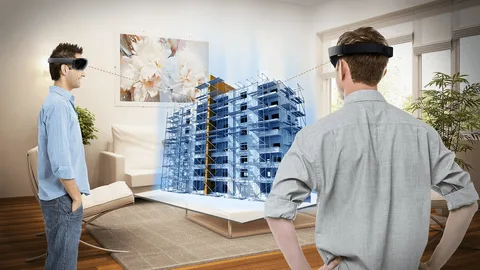
Creating Virtual tours is becoming very popular these days compared to recent years. The unique thing in 360 Virtual Tour Services is that you don’t need to travel to see a place. They are used for many purposes, like showcasing properties, businesses, educational institutions, and museum tours. Virtual tours are great because they let any person feel like they are really at the location before they even visit. 3D technology has been used for a long time, which is why many architecture visualization companies have started creating high-quality virtual tours.
Do you want to know how to create a virtual tour? In this blog, you will learn how to create a virtual tour and how it can enhance the overall experience. We will also talk about the different tools used to make a virtual tour. Whether it’s for showcasing a property, a business, or any other space, understanding these steps and tools will help you create an engaging and immersive virtual journey.
What is a virtual tour?
Before we jump into the steps, let’s talk a bit about what a virtual tour is.
Virtual tours use 3D techniques that enhance the physical experience. They have many surprising features called hotspots that let you move from one area to another easily. These tours use 360-degree images and videos to give you a great and immersive experience.
Easy Steps to Make Your Own Virtual Tour
Let us provide you with a step-by-step guide on creating a virtual tour. Now discuss it in detail.
Selection of a camera
When you want to create a great virtual tour, the first thing you need is a good 360-degree camera. These cameras capture a full panoramic view of any space, so people can look around in every direction just like they’re really there. Some popular choices, such as Ricoh Theta, Insta360, and Samsung Gear 360, are easy to use and take high-quality images. When picking your camera, you should think about how clear the pictures are, how easy it is to operate, how much it costs, and if it connects well with your computer or phone.
Capture images and videos
When you have your camera ready, you just need to capture photos and videos in 360 degrees. But make sure the lighting is consistent, otherwise your images won’t come out clear. It’s very important to use natural light so that stable lighting is available. Also, keep the camera steady at a fixed height to make sure your tour looks smooth. When taking pictures, focus properly and try not to move or shake the camera too much.
Upload images and videos
When all your 360-degree photos and videos are ready, the next step is to use a virtual tour platform or software. There are many platforms where you get an upload button. You click it and add your files from your computer. Once uploading is complete, the software creates images that look like a 3D version of the building. This makes your virtual tour realistic and easy to explore.
Creating hosting
Hotspots are points inside a virtual tour that let you move from one location to another easily. These hotspots create different scenes in the tour. Besides just moving around, they can show extra information like descriptions, embedded videos, and many more resources. Hotspots make the virtual tour interactive and help people explore in a simple and informative way.
Customize the tour
This step is especially for those who want to add background music to their virtual tour. You can also add logos in your video to represent your brand, which gives it a professional look. This makes the tour more engaging and helps to showcase your brand identity.
Preview and Publish
Before sharing your tour, make sure you don’t need to make any more changes. Also, check that all the hotspots are correct, transitions between scenes are smooth, and the tour works well on different devices. Once you are happy with everything, you can publish it on your website.
What is the difference between the Automate 360 virtual tour and the Render virtual tour?
In virtual tours, automatic navigation guides are used. This means the user can watch the tour like a video experience where the tour moves from one spot to another automatically. The user doesn’t need to click manually; the tour guides them through different locations.
Render tours are used for tendering or bidding processes. They help contractors or subcontractors to view a project site virtually without actually visiting it. This gives them a clear understanding of the site so they can price the project accurately.
Tools and Equipment for Building Virtual Tours
To create a virtual tour, you need some tools and equipment. The 360-degree camera is used to capture photos and videos of the space. But besides the camera, there are other important tools you use in the process. These include virtual tour software platforms like Kuula, Lapentor, CloudPano, and 3DVista.
Kuula
Kuula software is used because you can upload 360-degree photos, add hotspots, and customize your tour with background audio and other features.
Lapentor
Lapentor offers both free and paid plans that help you create 360 virtual tours with hotspots and floor plans.
Cloud pano
CloudPano has a user-friendly interface and is used to create high-quality 360 tours with options like branding and custom logos.
Conclusion
Creating a virtual tour for any building requires essential tools that provide a great experience. If you are also looking for an Architectural Company, they will provide you with 360-degree virtual tour services. Such companies have the skill to deliver the best virtual tour results for you. Our SMA Archviz is also here, which provides you with the best services within the budget.


